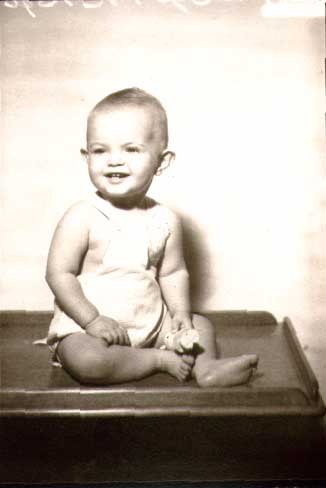
MYSTERY PHOTO #6
Suggestions: